
Note: le texte en anglais de Trevor, est suivi par une traduction en français.
I Had problems with my engine stopping because it was drawing air into the system.
I drained the tank (mine is the older stainless steel tank) and cleaned it out as suggestedby Gerard.
It made no difference and a mechanic suggested replacing the lift pump which I did.
Still no difference so I removed the tank from the boat. Although it is glassed into the bottom of the lazarette locker it was not too difficulty to remove the fiber glass tape bonding the cover to the plywood bulkheads and support base.
There is gel coat securing the plywood to the hull which must be broken away carefully .
The final obstacle was the bottom 50mm of the washboard storage compartment. I removed that with an oscillating saw.
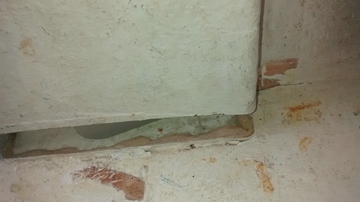
It was a simple job then to remove the screws securing the plywood. With a bit of leverage, the plywood itself was removed giving access to the tank which is not secured.
Disconnect the fuel lines in the engine compartment and the tank can be removed.
I found that the steel tank has three compartments separated by baffles. Removal of the fuel sender unit had only allowed that section to be cleaned. The other two sections were still full of dirt. sections Were still full of dirt.
I purchased three plastic inspection hatches which I fitted, one to each section, after steam cleaning the tank.
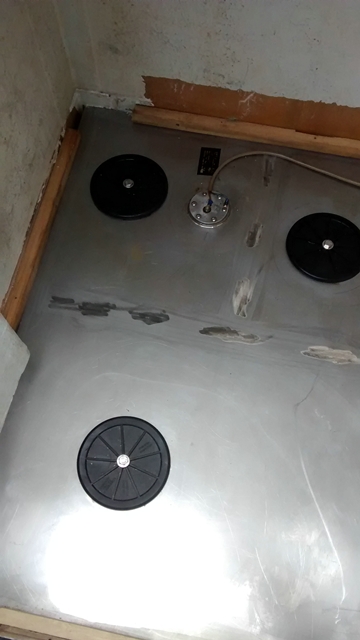
I then re-installed the tank.
Trevor
J'ai eu un problème avec mon moteur, qui s'arrêtait car il aspirati de l'air dans le circuit.
J'ai vidé le réservoir (le mien est un l'ancien réservoir en acier inox) et je l'ai nettoyé comme Gérard le suggère dans son
article.
Ca n'a fait aucune différence, et un mécanicien m'a suggéré de remplacer la pompe carburant, ce que j'ai fait.
De nouveau aucune différence, alors j'ai retiré le réservoir du bateau. Bien qu'il soit stratifié dans le fond du coffre, il
n'a pas été trop difficile de retirer le ruban de fibre de verre scellant le couvercle sur la cloison contreplaqué et le
plancher.
Il y a du gel coat fixant le contreplaqué à la coque qui doit être cassé et retiré avec précaution.
Le dernier obstacle fut le fond de 50mm du compartiment de stockage des toilettes. J'ai retiré cela avec une scie sauteuse.
Ce fut alors facile de retirer les vis fixant le contreplaqué. Avec un bras de levier, le contreplaqué lui-même fut retiré,
donnant accès au réservoir, qui n'est pas fixé.
Déconnecter le tuyaude gasoil dans le compartiment moteur, et le réservoir peut être retiré.
J'ai découvert que le réservoir acier a trois compartiments séparés par des cloisons. Le vidage du gasoil a juste permis au
premier compartiment d'être nettoyé. Les deux autres sections étaient toujours pleines de saleté.
J'ai acheté trois trappes de visite en plastique que j'ai adaptées, une sur chaque section, après avoir nettoyé à l'air
comprimé le réservoir.
Puis j'ai ré-installé le réservoir.
Trevor, traduit (tant bien que mal) par Gérard.